
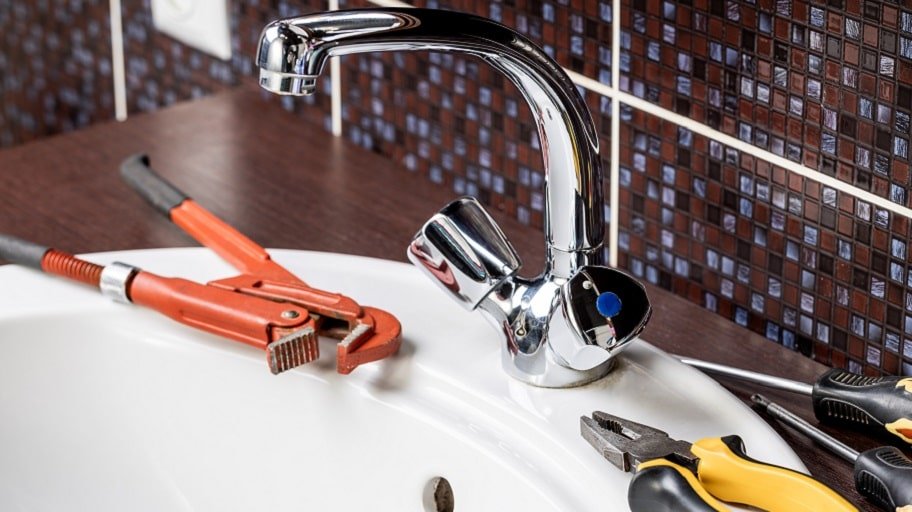
The sound of a dripping tap can be really annoying, especially if it’s at night when everything is quiet. Higher bills, wasted water, and drought periods come to mind, and you are totally awake now. At this very moment, you realise that knowing how to deal with small leaks at home is a great skill.
Fortunately, this is not such a challenging task, and if you know how to change a tap washer, you can stop most household tap leaks. Yes, the tap washer is the most common culprit behind leaks in traditional compression taps, used in most homes in Australia.
So, if you:
This article is for you. We’ll teach you how to change a tap washer step-by-step. What’s more, we’ve gathered some useful tips and tricks from our practice, which can save you a lot of grief down the track.
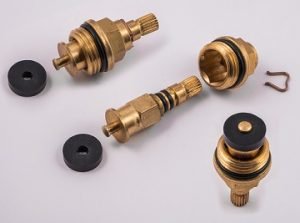
A tap washer is a disk, most often made of rubber or nylon, with a hole in the centre attached at the bottom of the tap stem. When the tap is turned off, it makes a watertight seal with the tap seat, stopping the water from flowing through.
This is how the mechanism in compression-style taps (two-handled) works.
There are different types of tap washers, depending on the material they are made from:
All tap washers wear out over time due to the pressure exerted by the valve and deposits from the water. Rubber and nylon ones are the cheapest and most commonly used. Unfortunately, they wear out or harden much faster than ceramic and fibre washers, and often cause leaking taps.
If you find it difficult to open or close your tap, the washer most likely got worn out and has to be replaced. Soon, it’ll start leaking more and more, making your bill higher. What’s more, debris and limescale from that constant leak can stain your sink or bathtub and even flood your property.
So, don’t postpone this task for long. Roll up your sleeves and follow these steps.
Learning how to change a tap washer is not a waste of time. It can save you and your family many unpleasant moments trying to turn off that dripping tap. And while these traditional mechanisms are not perfect, the process of replacing a tap washer is quite simple if you have all the tools and materials needed. You probably also have most of the instruments in your toolbox. All the missing stuff you’ll find in your local supplies store.
As for the replacement tap washer, it’s best to stick to the same type as the original one. Most household compression taps in Australia have 13mm washers, made of rubber or nylon. We recommend you separate the original parts and take them with you to the supplies store. This way, you’ll be sure you are buying the correct replacement parts.
So, here are the tools and materials you’ll need:
And now that we have all the supplies, we are ready to start with the first step.
When you change a tap washer, you have to turn the water off because you’ll have to disassemble the whole tap, opening the waterline. Otherwise, releasing the water pressure can flood your room.
Shut off the valve located under the sink or the main water valve of the property. Turn it clockwise all the way. Then, turn on the tap you are repairing to drain the remaining water in the lines. It usually takes a few seconds, and the water should stop. Otherwise, you’ve turned off the wrong valve, or it’s not working properly.
Plug the sink drain to prevent any part or screw from falling inside. You can also use a cloth or any towel that you have on hand.
Use a flat screwdriver to pop off the cap of the tap’s handle. Some handles have a marked place for a screwdriver. You will see the retaining screw. Unscrew it and remove the handle.
If your tap is covered with a metallic or plastic decorative cover, also called a tap skirt or flange, remove it using the pliers or the wrench. You can wrap the body with a cloth to protect it from scratches.
Now that you have access to the tap bonnet, unscrew it using the wrench. Turn it counterclockwise to release it completely. Use the cloth again if you need to protect the body from scratches.
If you can’t unscrew the bonnet, try spraying it with WD-40 to clean the residue. Wait about 5 minutes for it to work.
Once the valve stem is taken off, you’ll see the tap washer at the bottom. Use the pliers or screwdriver to remove the small nut or screw holding it to the stem. Pull the washer out with the tweezers. Then, place the new one and tighten the nut or the screw.
Optional: You can also change the O-rings and the body washer. You can apply some lubricant to the thread to make turning the tap on and off smoother.
Clean all the parts of the tap, including the seat. Make sure there are no washer pieces or dirt left inside. Use a cloth or paper towel to wipe it off. Clean the limescale and debris off all the threads, too.
Apply Teflon tape on the threads. Wrap it around clockwise and squeeze it over the threads. Then, insert the tap stem into the seat and tighten it with the wrench. After that, place the handle and tighten its screw. Finally, press the cap over and remove the plug from the drain.
Make sure you’ve turned off the repaired tap. Then turn the water supply valve counterclockwise all the way. Now, observe the tap for leaks from the tap’s body and from the spout. If you notice any leakage from the body, try tightening it a little. If that doesn’t work, reconnect it completely, removing the old tape and applying a new one.

Want to be sure your tap will work flawlessly?
You can count on Fantastic plumbers to repair any leaks.
The process of changing a shower tap washer is similar to changing a sink one. The only difference is that it’s mounted in the wall instead of on the sink. This means that sometimes the tap is inside the tiles and it can be hard to reach with the wrench. In this case, you’ll need a tube spanner to unscrew the tap bonnet. Get one from the supplies store or order it online and follow the steps above to replace the shower tap washer.

Generally, tap washers last for one or two years, depending on the material and usage. Here are some tips which can help extend its lifespan:

In some cases, changing the tap washer is not enough to repair a leaking tap. If you’ve followed the above steps and the problem still persists, then the tap seat is probably damaged or worn. Most seats are replaceable or can be refaced with a special kit. All the parts and tool kits can be found in the supplies store or online.
However, before you start repairing the tap seat, consider consulting a professional plumber. Sometimes it’s better to replace your traditional compression taps with modern ones with ceramic cartridges instead of repairing the seat.

Do you want your taps to be fixed by a professional?
Contact your plumbing expert today!
Disclaimer: We are a commercial home maintenance service provider. Our purpose with this blog is to provide valuable and accurate content for solely informational purposes. We strongly advise our readers to consider all the risks and health concerns before taking a DIY project. We also highly recommend you get fully informed about the laws and regulations regarding electrical, plumbing and other work in the different states of Australia.


The only home improvement newsletter you will ever need!
We will never spam you. Pinky promise!
For more information, check out our privacy policy.


