
Are you planning a renovation? Repainting your rooms is often where most people choose to start. Just achieving an even tone on the walls and ceiling is enough to freshen up your place.
But perhaps the common rollers and paintbrushes aren’t the most convenient tools for that. Learning how to use professional tools like spray guns for painting can save you time and effort, which is always welcome in a DIY project.
With a spray gun, you’ll also find it easy to deal with hard-to-access spots on furniture or other detailed items like door and window frames. Yet, there’s a learning curve to it to get your job done smoothly and efficiently.
So, if you:
Read on to deep dive into the details of spray gun painting. We’ve included many valuable tips from the professional Fantastic painters and their projects in Australia.
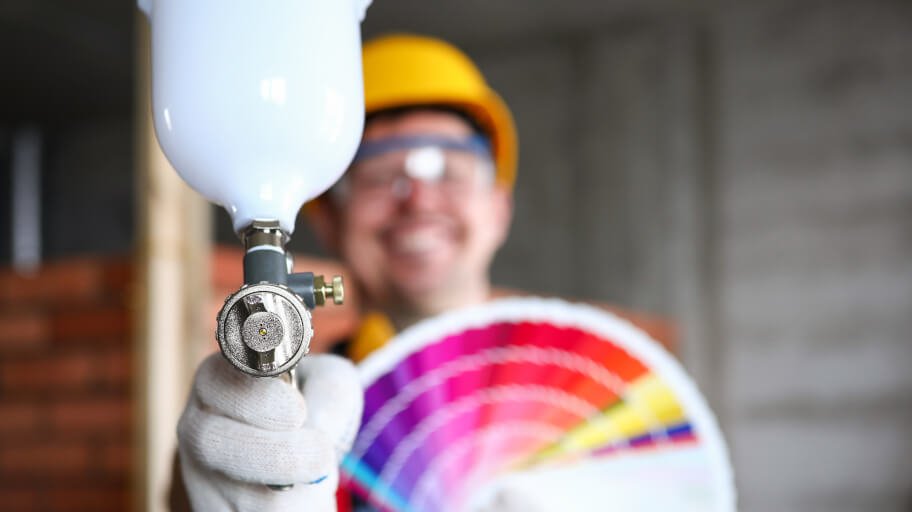
Let’s start with the simple explanation that a spray gun is a tool that sprays paint using air pressure to apply it to a surface. All types of paint can be used with a sprayer as long as you comply with the manufacturer’s instructions.
Oil and water-based, latex, acrylic, or enamel paint can be gun-sprayed on:
Using a spray gun is an effective way to apply a fine, quality and consistent coat of paint on different types of even or rough surfaces. And while the application technique is quite the same, there are three main types of spray guns you can find on the market:
Compressed air is used to force the paint out from the reservoir without mixing with it. They have an integrated electric pump, air compressor, or external ones attached. The gun tip controls the size of the pattern and the amount of paint. Airless spray guns use very high pressure and spray a large volume of paint. Thus they are preferred for projects that require high productivity.
Also called conventional gun sprays, use compressed air to transfer the paint to the surface and atomise the stream. So, there you have two controls, one for the amount of paint and another for the shape of the pattern. These sprayers are cheaper than airless and HVLP ones but require having a compressor, use more paint and are messier. Still, they are a better choice for novices because of the good control and the finer finish you can achieve.
These are more efficient and environmentally friendly spray guns as less paint is dispersed in the air. They use a larger volume of air with less pressure. The paint travels slower to the surface, creating a smooth finish. Ideal for detailed work on kitchen cabinets, moulding, doors etc. They are more expensive than the others, especially those capable of applying thicker paint.
All types of spray guns are available with various tips or nozzles, suitable for different types of paint and surfaces. So, considering the size, the purpose and the budget of your project, you can easily choose the best gun sprayer for you.
The process involves proper preparation of the surfaces and the paint and adjusting and testing the device. Arm yourself with patience, as this can take almost the same amount of time you’ll spend on painting. Do it right, and your project will go smoothly.
So, here is how to use a spray gun for painting in detail:
Start with clearing the space. Remove all items that can be easily moved, and place the big ones in the centre. Then, cover everything you don’t want to get paint on, such as furniture, windows, trims and floors, with plastic drop sheets and tape. This is also valid for exterior projects. You don’t want a light breeze to stain your surroundings.
Don’t forget to protect yourself too. Provide good ventilation and wear a respirator or facemask, goggles, protective clothes and gloves.
Next are the surfaces you are going to paint. Wipe down any dust from them right before you start spraying. This will prevent defects in the coating.
Now it’s time to prepare the paint for your project. Open it and check its density. In general, it should not be too thick or too thin. Not all paints need thinning but keep in mind that the process differs between oil-based and latex paint.
So, get familiar with the manufacturer’s recommendations on the paint can and the spray gun manual. Follow the instructions strictly, as this can affect the finish’s consistency and the job’s final result.
Give the paint a good shake, and then strain it to ensure that the sprayer won’t get clogged with clumps, dirt or dried flakes. Fill it into the spray gun container and assemble the device to the air compressor (depending on the model).
Test your painting technique with the spray gun on a piece of cardboard, so you can precise the pattern and the thickness of the layer you want to apply. Adjust the nozzles or controls, depending on the type of gun you are using, to receive the desired look of coating.
After mastering your spraying skills, it’s time to start painting with the spray gun. Begin moving the gun before pushing the trigger. Start at the corners vertically and overlap each pass by 40 – 50% to achieve a solid colour. Be careful not to apply too much paint as a heavy coat may peel. Remember that you always can overlap, but it will be more difficult to remove paint and start again.
Move parallel to the surface, and don’t use your wrist to arc the paint. Otherwise, you’ll get inconsistent coverage. Keep a consistent distance from the surface and void tilting the spray gun. The most recommended distance is 15 – 25 cm. Moving closer will apply more paint and vice versa.
The ideal width of the pattern for larger projects is about 20 – 30 cm. Follow your pattern and consistent speed on the whole surface.
Once you are done painting, it’s crucial to thoroughly clean your spray gun just after use to prevent it from clogging with dried paint. The process involves emptying all the paint of the container and carefully cleaning the air caps, paint cap and container, the nozzle or tip – all the parts you can disassemble. Use solvent or water, depending on the paint used.
When reassembling the spray gun back, squirt a little lubricating product onto the metal threads. If you want to be 100% sure that everything is completely clean, flush the gun with the fluid you used for washing. That way, you will push out any remaining paint.
As you already know how to use a spray gun for painting, you can now easily plan and schedule your renovation. If you are not sure this is your favourite DIY task or have greater plans in your head, don’t hesitate to contact an expert technician and get a professional painting service. He can help you make the best choice for your project and save you a lot of time spent on hard work.
Book a fantastic painter today!

We hope that we’ve made your painting easier. If you have any questions or want to share your experience with a spray gun, please leave a comment below.


The only home improvement newsletter you will ever need!
We will never spam you. Pinky promise!
For more information, check out our privacy policy.


